The real challenge: Building a portfolio that speaks for itself
As a designer, I faced a unique challenge: creating a website that not only showcases my work but also reflects my design ethos. This journey wasn't just about building a portfolio; it was a deep dive into learning and experimenting with tech, making my website a true reflection of my skills and style. I treated my portfolio like a personal sandbox, a place to test ideas and play with layouts.
Mapping the journey: A step-by-step process
Step 1: Setting clear goals
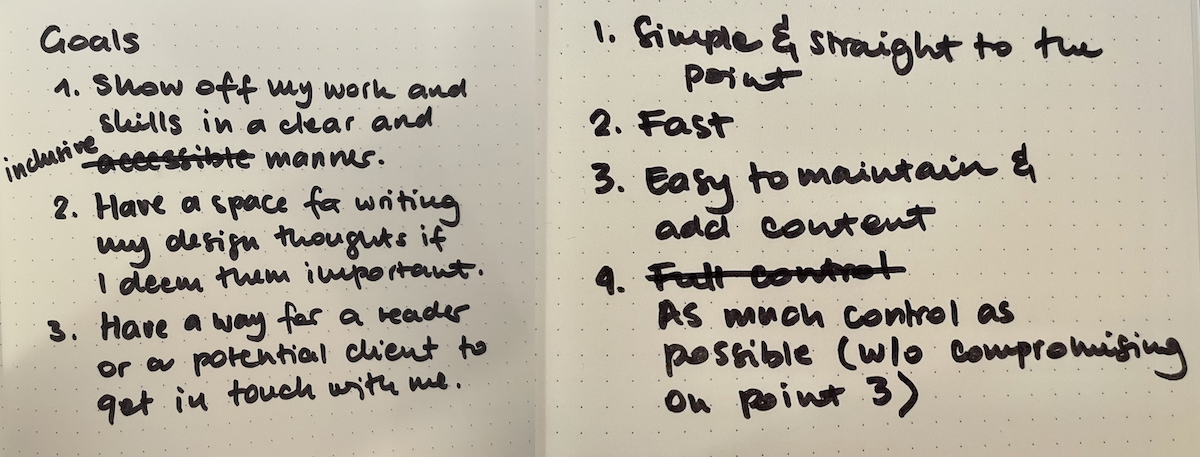
Before anything else, I grabbed a pen and paper and listed what I wanted my portfolio to achieve:
- Showcase my work and skills in a clear, inclusive manner.
- Offer a space for my design musings, sharing them when I felt compelled.
- Provide an easy way for readers or potential clients to contact me.
And I had four non-negotiables for the portfolio:
- Simplicity and directness, with my work front and center.
- Speed, because no one likes a slow-loading site.
- Ease of maintenance and content addition, with markdown support being a must.
- Control over customization, without making things overly complex.
Step 2: Weighing my options
The contenders
- WordPress: Popular and versatile, but overkill for a simple portfolio. Custom themes seemed too time-intensive, and pre-made ones lacked personal touch and control.
- No-code builders (Squarespace, Webflow, etc.): While user-friendly, they felt bloated and restrictive in terms of design control and markdown support.
- Static Site Generators (SSGs): They stood out as the ideal choice, offering speed, flexibility, and markdown compatibility.
Picking the right SSG
I had some experience with SSGs, but I needed something straightforward and well-documented. After a quick research, I narrowed it down to Gatsby, Hugo, Jekyll, and Eleventy. Gatsby and Hugo seemed too feature-rich for my modest needs. Jekyll was familiar, but I chose to experiment with Eleventy for a new experience.
Choosing a CSS framework
I had never worked with Tailwind CSS before, and it looked promising in terms of flexibility. This project was the perfect chance to try it out.
Domain and hosting
I already had a domain name and chose GitLab Pages for hosting. It offered the right balance of flexibility without the hassle of self-hosting.
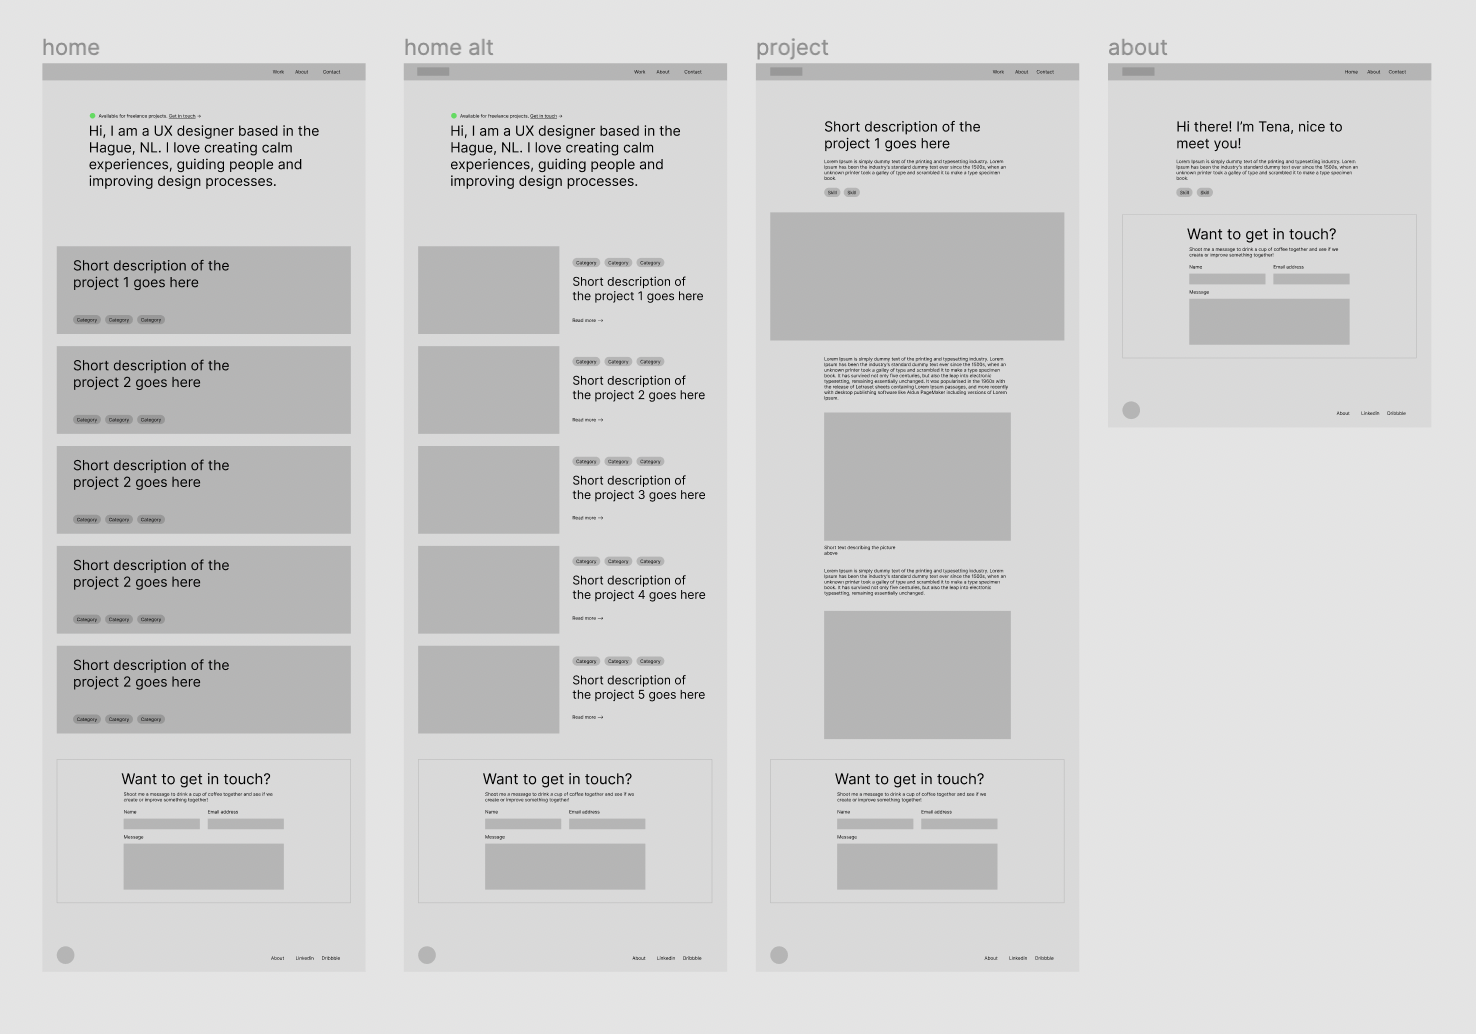
Step 3: Designing the site
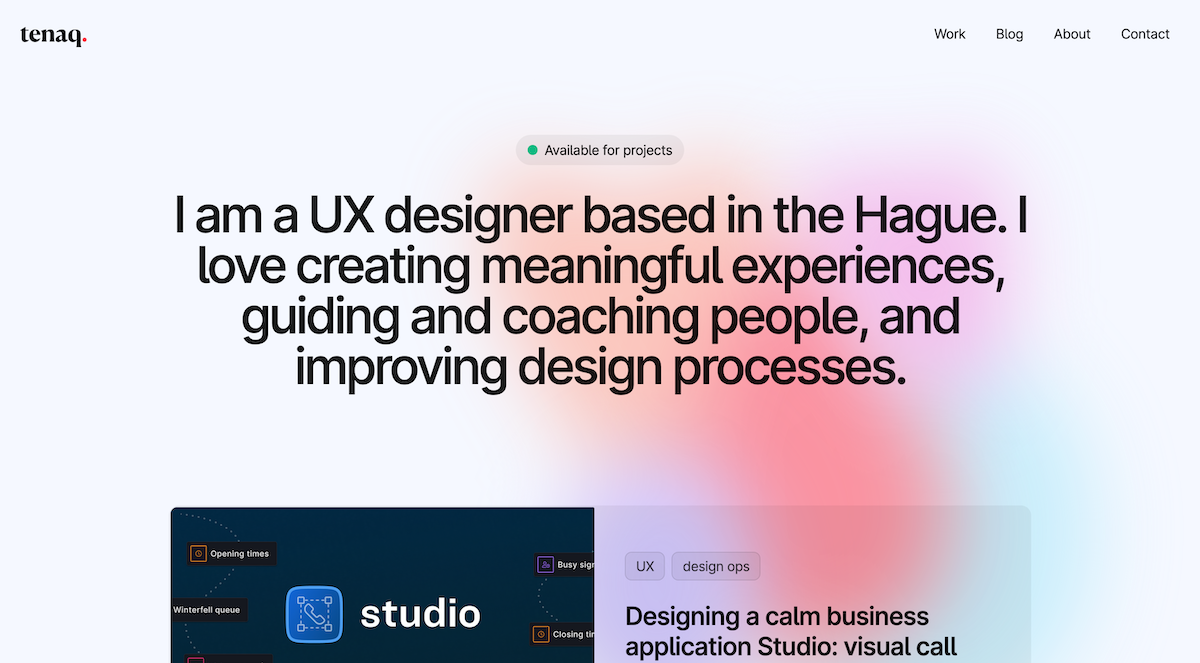
With Eleventy and Tailwind CSS in my toolkit, I set off to design my site. I started by creating a mood board from my past work to define the aesthetic. The design needed to be straightforward yet visually striking. I opted for a monochrome palette with a bright red accent and a "color splash" on the homepage for a bit of flair.

Step 4: The build
Pairing Eleventy with Tailwind was a smooth experience. Their documentation was mostly helpful, though Eleventy could use more detailed guides on certain integrations.
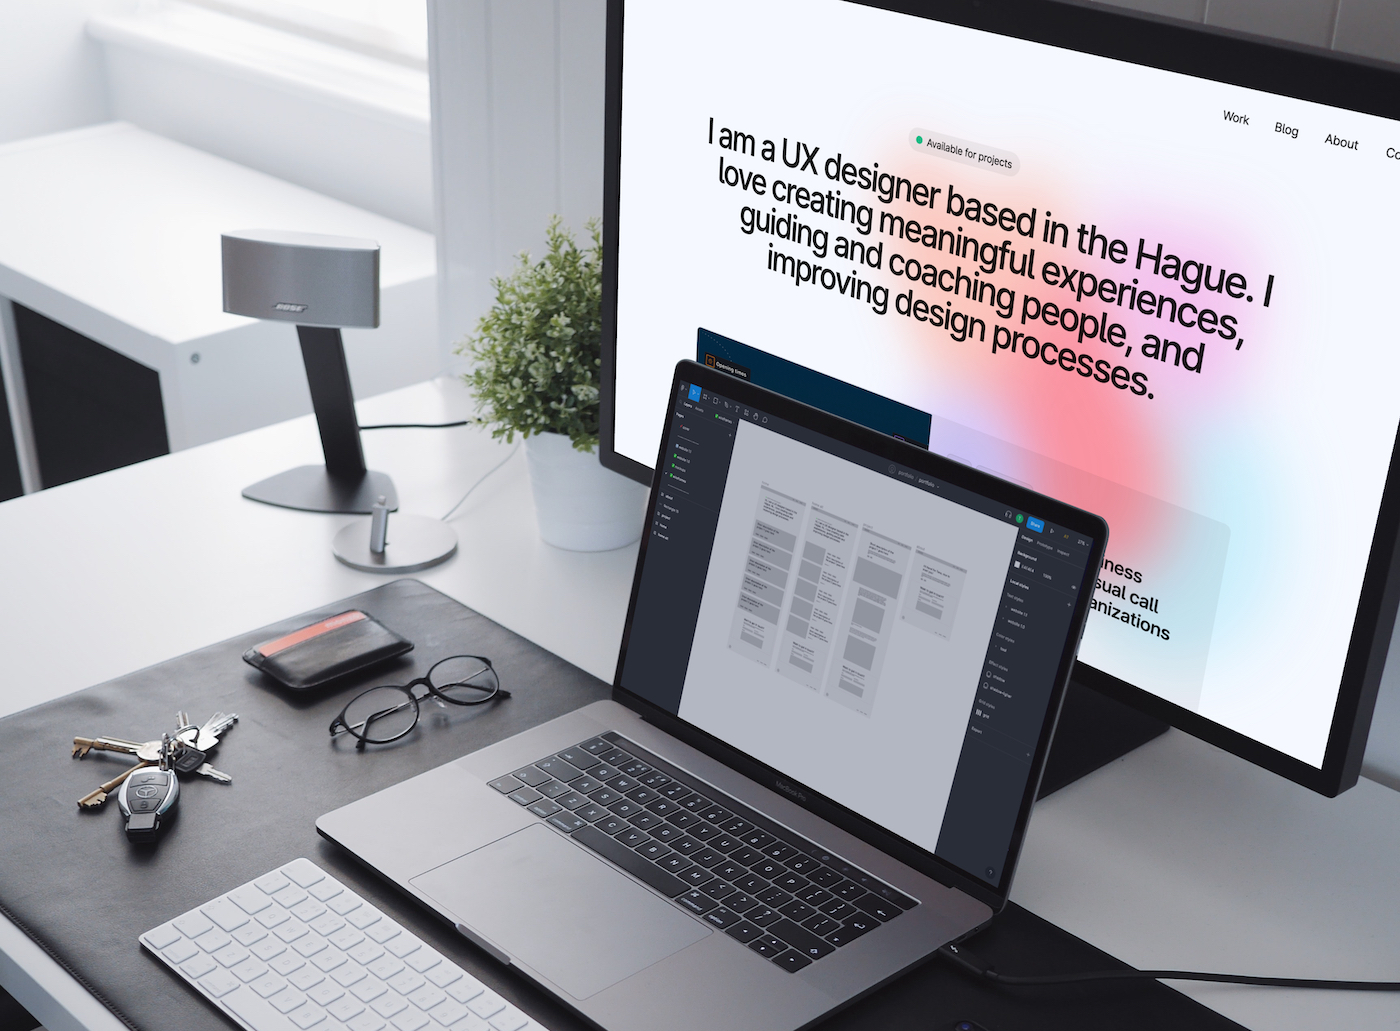
The outcome: A portfolio that represents me
Here it is, the site where you're reading this post. While I initially wanted a contact form, I settled on just an email to keep things simple. A useful addition was using skills as tags, allowing visitors to quickly view my abilities and related work.
In the end, this portfolio is a true representation of me as a designer. It's simple yet effective, balancing my objectives with a personal touch.